Why You Shouldn't Be Afraid To Shoot Mid Day| Tips and Tricks For Photographers | Stevie Dee Photography
Tips & Tricks For The Natural Light Photographer While Shooting Mid Day
There's nothing quite like the mellow golden sun casting the most beautiful light (and the occasional sun flare, am I right?!) on the horizon right before sunset during a photo session. This I cannot argue with. The thing is, we don't always have the luxury of choosing the time of our sessions.. If it were a perfect world I would schedule every photo session during "golden hour" (ie. the amazing light described above that comes typically 1 hour after sunrise and 1 hour before sunset) no doubt! But THAT is seriously unrealistic. I know, I know, some of you may be rolling your eyes or thinking I'm crazy but truth is we are in the business of serving our client, even if that means shooting mid afternoon in the brightest and harshest light.
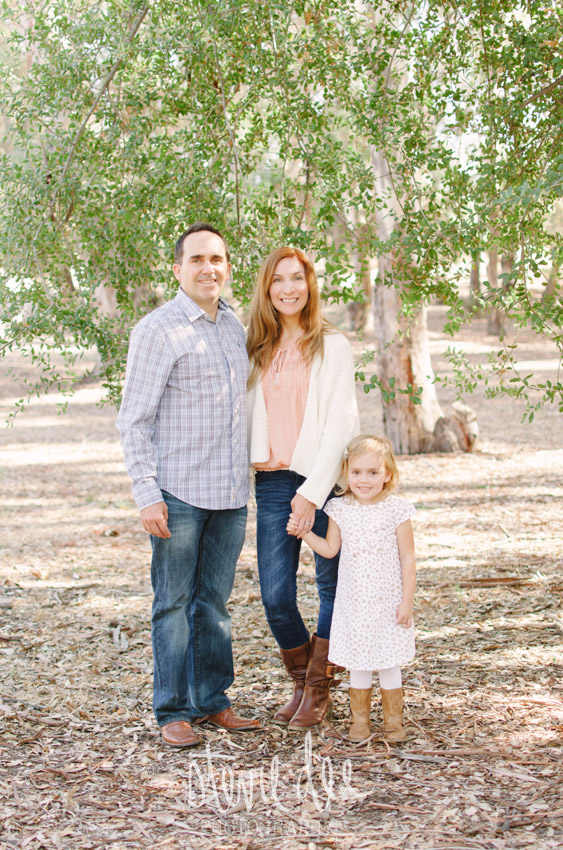
 Nikon D7000 ISO 200 35mm f2.2 1/200 sec
I've heard photographers talk about how they ONLY shoot during golden hour and all I can think about is WHY???? Believe me, I totally get that shooting mid day is not ideal but it is not impossible. I am going to share some of my tips and tricks that will hopefully help you natural light photogs get out of the golden hour comfort zone and explore other beautiful light!
This is a gorgeous family session I shot at 12:00 PM in a woodsy park near my house.
First and foremost PICK A LOCATION WITH LOTS OF SHADE! I cannot stress this one enough. I have several locations I actually prefer to shoot mid day because the light is prettiest at that time for the area. For example, a wooded park. The trees create ample shade but still let a lot of light through the trees.
KNOW THE LIGHT. Always have your subjects stand in the shade with their backs turned toward the sun.
BRING A REFLECTOR. My reflector comes with 5 different sides so I bring it along and use the black side as a shade. I have my assistant or second shooter hold the reflector above the subjects' head to shade their entire face/body. Then I expose for the shadows on the face.
BE CONFIDENT with your skills. Watch your exposure grid and always always always expose for their faces. When people look at an image their eye immediately goes to the focal point, which is most times the subjects' face. By setting your exposure for their face the focal point of the image will be exposed properly while other parts of the image may be blown out. *Be careful not to shoot too bright though, once a part of an image becomes blown out all the data is erased and your computer won't know what is there. No amount of editing can save a blown out image.


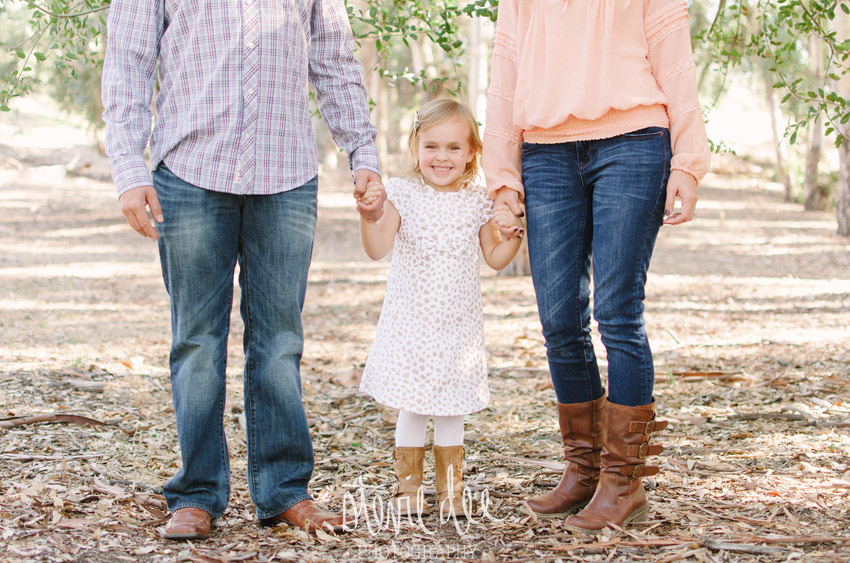
 You can see in a lot of these images that are parts of the image that are blown out. The important thing is to make sure the subject and focal point of your image is exposed the way you like it. I like to overexpose my images a little bit, I like the light airy feeling it gives but these same tips will apply even if you like shooting on the dark side.
I've heard other photographers say "Couldn't you just dodge and burn the areas to make them lighter/darker?" The answer: YES! You absolutely could. I prefer not to because number 1: That takes wayyyyyy too much in my post production workflow and number 2: Dodging and burning in todays digital age makes the image look flat, in my opinion. So I prefer to shoot it the way I want in camera and then make minor adjustments in post.
And my final tip to all you savvy natural light photographers; remember WE ARE NOT MIRACLE WORKERS. Being an outdoor natural light photographer puts you at the mercy of mother nature so you have to be ready, and confident, to take on anything that is thrown at you.
Xo


